
Arduino Temperature Sensor: The Complete Guide to Every Sensor, Wiring, and Code (2026)
Why “Which Temperature Sensor Should I Use” Doesn’t Have One Answer
Search “arduino temperature sensor” and you’ll get a dozen tutorials that all quietly assume you already know which sensor you need — they just show you how to wire their pick. Nobody actually stops to ask the question that matters first: what are you measuring, and how much does being wrong cost you?
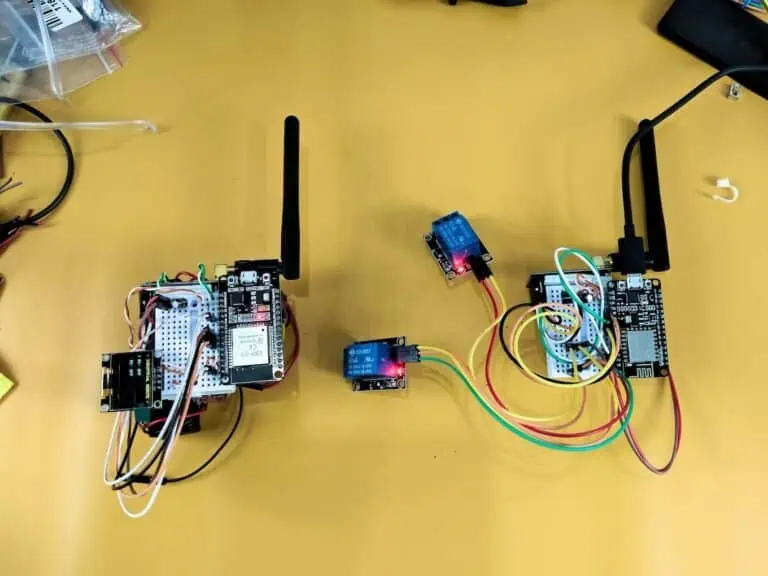
I didn’t have a tidy answer either, until I’d built the same basic idea — “read a temperature, show it somewhere” — four different ways, with four different sensors, on four different boards. A thermistor for a fast, cheap analog reading. A DHT11 for room air. A DS18B20 for a tank of nutrient solution that once cooked a batch of lettuce when I got the sensor choice wrong. A BMP280 for atmospheric pressure that happens to hand you temperature for free. And then, because none of them alone tells the whole story, all four stacked onto a single Arduino Nano running a kitchen monitor with zero Wi-Fi and zero cloud dependency.
This guide is the map I wish existed before I started that journey — one place that lays every option side by side, tells you honestly where each one breaks, and links out to the full build-and-code guide for whichever one fits what you’re actually building.
Quick Answer: Pick Your Sensor in 30 Seconds
If you don’t want to read the whole thing, here’s the shortcut:
- Measuring air temperature and humidity in a room? → DHT11
- Measuring a liquid — water, milk, a fermentation bucket, an aquarium? → DS18B20 waterproof probe
- Want the fastest, cheapest possible analog reading, or need five sensors on one budget? → 10K Thermistor module
- Building a weather station or need altitude/pressure trends, with temperature as a bonus? → BMP280
- Want to see all of the above working together on one board? → Arduino Nano Smart Kitchen Monitor
That’s the executive summary. Everything below explains why, with real numbers from actual builds instead of datasheet marketing.
How an Arduino Actually “Reads” Temperature
Before comparing sensors, it helps to understand there are really only two ways an Arduino gets a temperature value out of a piece of hardware, and almost every sensor on the market falls into one of them.
Analog sensors (thermistors, LM35, TMP36) don’t tell the Arduino a temperature at all. They hand it a voltage. Something inside the module changes its resistance or output voltage as it heats or cools, the Arduino’s ADC (analog-to-digital converter) turns that voltage into a raw number between 0 and 1023, and then your code does the math to turn that number into degrees Celsius. This is why analog sensors are fast — there’s no protocol, no handshake, just a voltage sitting there waiting to be read — but also why they need calibration to be genuinely accurate.
Digital sensors (DHT11, DS18B20, BMP280) do that conversion internally, on a tiny chip embedded in the sensor itself, and hand the Arduino an already-computed number over a communication protocol — 1-Wire for the DS18B20, a custom single-wire timing protocol for the DHT11, I2C for the BMP280. This costs you a small amount of time (anywhere from a few milliseconds to most of a second, depending on the sensor) and adds a library dependency, but you get a value that’s already been through the sensor manufacturer’s own calibration.
Neither approach is universally “better.” A thermistor beats a DS18B20 on raw response speed. A DS18B20 beats a thermistor on out-of-the-box accuracy. That trade-off — speed and cost versus accuracy and convenience — is the thread running through this entire guide.
The Four Families of Arduino Temperature Sensors
Every sensor covered on this site (and honestly, most of what you’ll find in any maker’s parts drawer) falls into one of four practical categories:
- Pure analog resistive — the 10K NTC thermistor module. Cheapest, fastest, needs the most math.
- Combo digital air sensors — DHT11 (and its more accurate sibling, the DHT22). Bundles humidity in for free, but slow and indoor-only.
- Digital 1-Wire probes — the DS18B20. Built for liquid immersion, daisy-chainable, waterproof by design.
- Digital I2C environmental sensors — the BMP280 (and its cousin the BME280, which adds humidity). Temperature is really a side effect of measuring pressure.
There’s a fifth category worth a passing mention for completeness, even though it doesn’t have a dedicated guide on this site yet: thermocouples and RTDs (like the MAX6675 with a K-type thermocouple, or a PT100), which exist for temperatures well beyond what any of the sensors above can survive — think 3D-printer hotends, kilns, or industrial furnaces running past 300°C. If your project involves open flame or metal casting, none of the four sensors in this guide are rated for it; that’s thermocouple territory.
Full Comparison Table: Every Sensor, Side by Side
| Attribute | 10K Thermistor Module | DHT11 | DS18B20 (waterproof) | BMP280 |
|---|---|---|---|---|
| Type | Analog (NTC) | Digital, single-wire | Digital, 1-Wire | Digital, I2C |
| Typical Price (India) | ₹20–60 | ₹70–100 | ₹90 (clone) – ₹330 (genuine) | ₹130–500 depending on module |
| Accuracy | ±1–2°C (uncalibrated), better if you measure your own Beta | ±2°C, ±5% RH | ±0.5°C (genuine) | ±1°C (temp), ±1 hPa (pressure) |
| Response Time | 1–3 sec | ~2 sec, min 1 read/2 sec | 750ms per 12-bit read | ~2 sec recommended polling |
| Range | -55°C to 125°C (module often narrower) | 0–50°C, 20–80% RH | -55°C to +125°C | -40°C to +85°C |
| Best For | Fast reads, budget multi-sensor builds, learning the electronics | Indoor room monitoring, beginner weather stations | Liquids, aquariums, brewing, multi-point tank arrays | Weather stations, altitude tracking, pressure-trend forecasting |
| Full Guide | Full guide → | Full guide → | Full guide → | Full guide → |
A quick sanity check on that accuracy column: the DS18B20’s ±0.5°C spec only holds for genuine Maxim/Analog Devices silicon. The India market is flooded with clones that fail differently — most obviously, by getting permanently stuck at 85°C. That’s not a wiring problem; it’s a timing bug baked into the clone chip. The DS18B20 deep dive covers exactly how to spot one before it ruins a batch of homebrew.
The Decision Framework: Match the Sensor to the Job
Rather than a generic “here are five sensors, good luck,” it’s more useful to ask these questions in order:
1. Is the sensor going into a liquid? If yes — water, milk, oil, a nutrient tank, an aquarium — stop right there. Use the DS18B20. Its waterproof probe form factor, 1-Wire multi-drop capability (up to 10+ sensors on one pin), and immunity to the slow analog drift that plagues thermistors near boiling all make it the obvious pick. A bare thermistor module can technically be sealed and dunked, but you’re rebuilding waterproofing the DS18B20 already ships with.
2. Do you need humidity in the same reading? If yes, and it’s an indoor, non-critical application — a filament dry-box, a grow tent, a general room monitor — the DHT11 gets you both temperature and humidity off one sensor, one library, one wire. If accuracy actually matters (greenhouse automation, incubators), spend the extra few hundred rupees and swap in a DHT22 — same wiring, same code, tighter tolerances.
3. Is atmospheric pressure part of what you’re building? Weather stations, altitude trackers, rain-trend estimators — the BMP280 is the natural fit, and it hands you temperature as a bonus reading alongside pressure. Don’t buy it purely as a temperature sensor; there are cheaper, faster options for that alone.
4. Do you just need one fast, cheap analog value — or a lot of sensors on a tight budget? This is thermistor territory. No library required, an ADC read away, and cheap enough to wire five of them into one project without blinking at the bill of materials. The trade-off, covered in full in the 10K thermistor guide, is that you own the calibration math — a generic Beta coefficient of 3950 gets you “close,” not “accurate.”
5. Do you need more than one of the above at once? This is exactly the situation that led to building a kitchen monitor running a DHT22 (ambient), a BMP280 (pressure/rain forecast), a DS18B20 (liquid probe), and an MQ2 gas sensor, all off a single Arduino Nano with zero Wi-Fi. The full build is a useful reference for how these sensors behave when they have to share I2C buses, EEPROM space, and a single 16×2 LCD without stepping on each other.
Deep Dive #1: 10K Thermistor — The Analog Workhorse
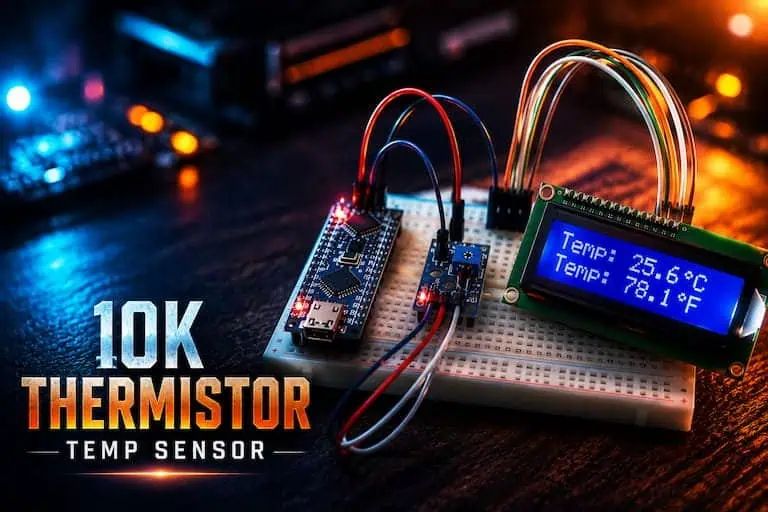
The thermistor is usually the second sensor a beginner buys, right after an ultrasonic distance sensor, and for good reason: it’s a resistor whose resistance changes predictably with temperature, wired into a voltage divider on a tiny breakout board. No communication protocol, no timing delays — you read an analog pin and get a value on every single loop iteration.
The part that trips people up isn’t the wiring, it’s the math. A raw ADC value like 542 doesn’t mean anything on its own; getting from that number to a trustworthy “23.4°C” runs through the Steinhart-Hart Beta equation, and the generic Beta coefficient of 3950 that every tutorial tells you to paste in is frequently wrong for your specific module. The full guide walks through a two-bath calibration method — ice water and warm water, a multimeter, and about 15 minutes — that measures your actual thermistor’s Beta instead of guessing.
For another practical example, see this 10K NTC thermistor project on Arduino Project Hub.
It also covers something most thermistor tutorials skip entirely: running the whole thing portable, off a single 18650 cell through a TP4056 charge module and an MT3608 boost converter, which turns a breadboard demo into something you can actually leave running unattended.
Read the full 10K Thermistor guide →
Deep Dive #2: DHT11 — Cheap, Slow, and Good Enough for Air
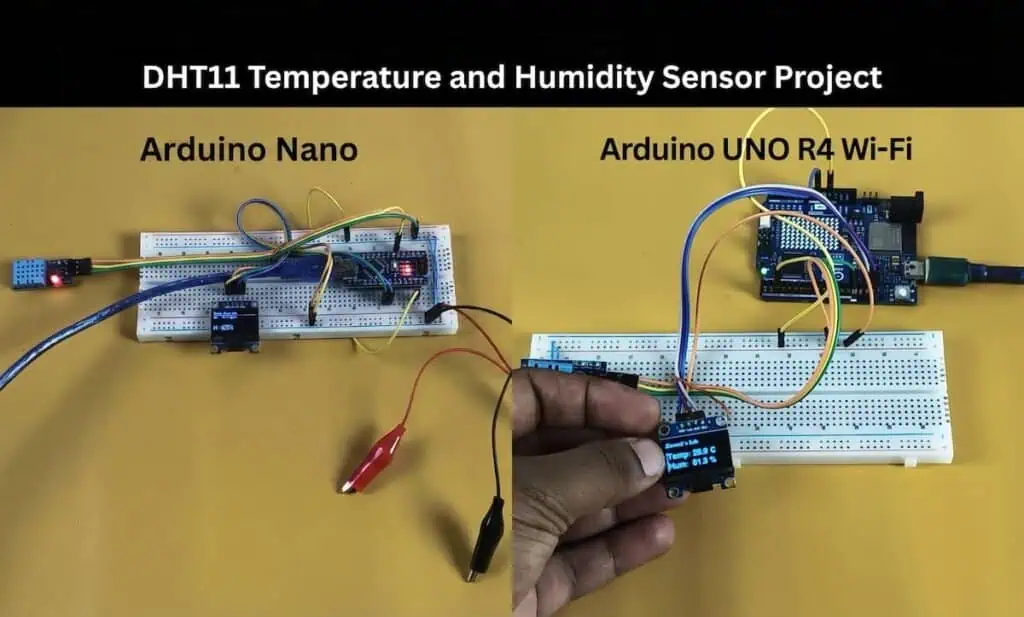
The DHT11 earns its permanent spot in the parts drawer for one reason: it’s the cheapest way to get both temperature and humidity off a single digital pin, with a library that “just works” once the timing quirks are understood.
Those timing quirks are the whole story with this sensor. It needs 1–2 full seconds of rest between reads — hammer it faster and you’ll get NaN back instead of a number, which is almost always mistaken for a wiring fault when it’s actually just impatience. The full guide builds this two ways: a budget version on an Arduino Nano with an OLED display for a standalone desk gadget, and a “pro” version on an Arduino Uno R4 WiFi that hosts its own local web dashboard — no cloud account, no app, just an IP address typed into a phone browser.
If accuracy genuinely matters for your project, the guide is explicit about the upgrade path: swap in a DHT22, keep the exact same wiring and code, and get a meaningfully wider range with tighter tolerances for a small price increase.
Deep Dive #3: DS18B20 — The One You Trust With Liquids
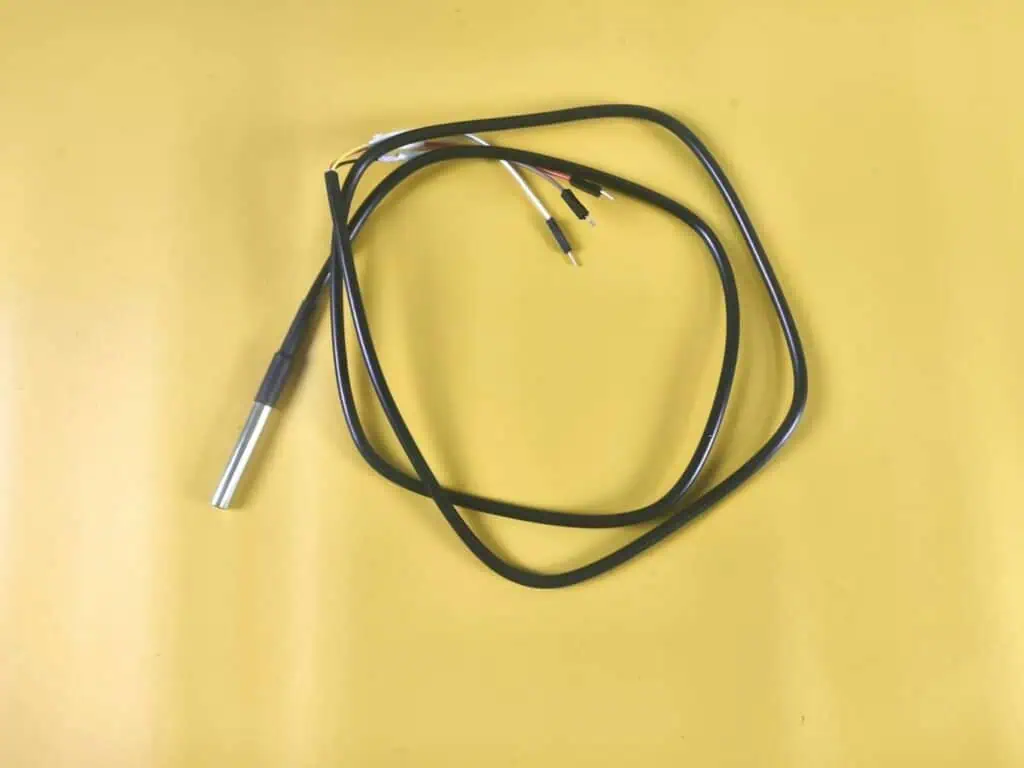
This is the sensor with a real failure story behind it: a “waterproof” clone probe that leaked at the cable joint, drowned its own legs in stagnant water, short-circuited into reporting false-freezing temperatures, and drove a hydroponics heater into a death-loop that cooked an entire batch of lettuce. That single ₹1,500 mistake in saved sensor cost turned into a ₹16,500 refund.
Everything in the full guide traces back to that lesson. It covers how to spot a clone chip before it fails (the infamous stuck-at-85°C power-on bug), the non-negotiable 4.7kΩ pull-up resistor the 1-Wire protocol depends on, why long cable runs need a lower-value pull-up resistor to fight signal droop, and a non-blocking “request and resume” coding pattern that keeps the rest of your system — leak sensors, emergency stops, displays — responsive while the DS18B20 spends 750ms doing its own conversion internally.
For a practical Arduino Nano implementation, see this DS18B20 temperature sensor project on Arduino Project Hub.
It also covers scaling up: how the same three wires (VCC, GND, Data) can carry ten separate DS18B20 probes at once, each identified by its own 64-bit hardware address, so “Tank A” stays “Tank A” even after everything’s zip-tied behind a wall.
Deep Dive #4: BMP280 — When Temperature Is a Side Effect
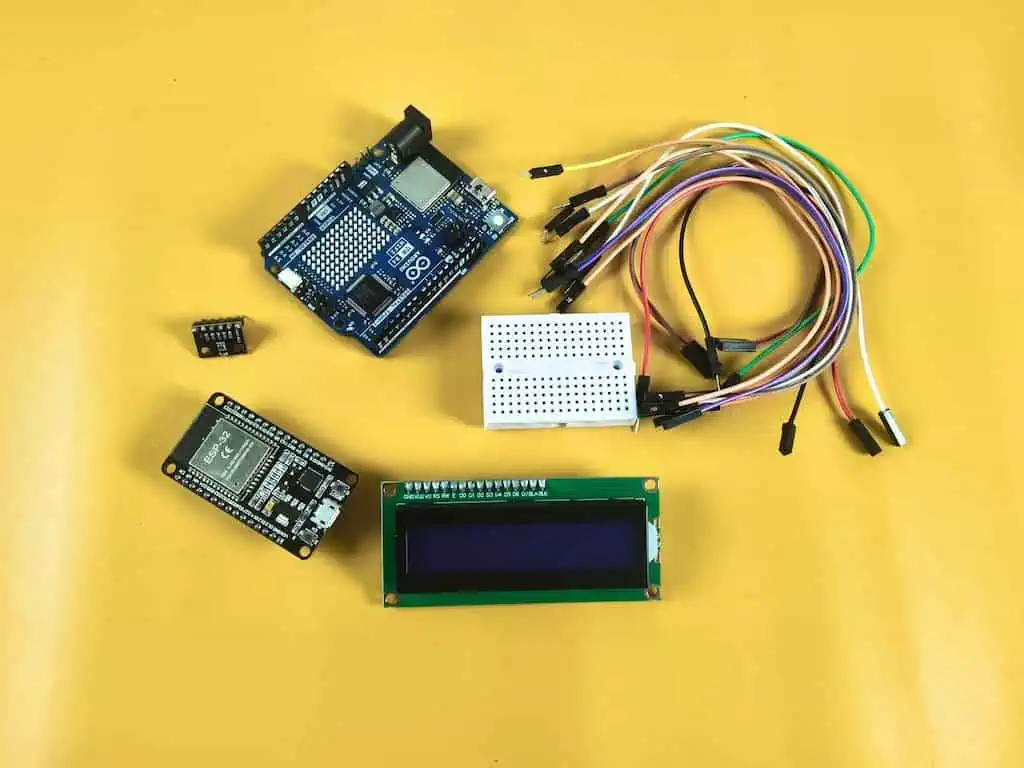
The BMP280 is a genuinely different animal from the other three. Nobody buys it purely to measure temperature — they buy it for barometric pressure, and temperature comes along as a secondary reading the chip needs internally anyway to compensate its own pressure math.
The defining engineering fact about this sensor is that it’s a native 3.3V part, and feeding it 5V logic directly is a fast way to kill it — described in the full guide as forcing a flood through a garden hose. That single constraint is what pushes the whole build toward boards with native 3.3V I2C, specifically the ESP32 and the Arduino Uno R4 WiFi’s dedicated Qwiic connector, rather than an old 5V Uno R3 and a logic level shifter.
The guide runs two complete builds side by side — a ₹880 “budget” ESP32 version that hosts its own WiFi dashboard, and a ₹2,240 “pro” Uno R4 WiFi version using the Qwiic port’s separate Wire1 I2C bus — plus two failure modes worth knowing before you build anything with this chip: the sensor is photosensitive (direct sunlight on the vent hole shifts its pressure reading), and it self-heats if you poll it too aggressively, which the fix for is simply not reading it faster than once every couple of seconds.
Deep Dive #5: Putting Four Sensors on One Board
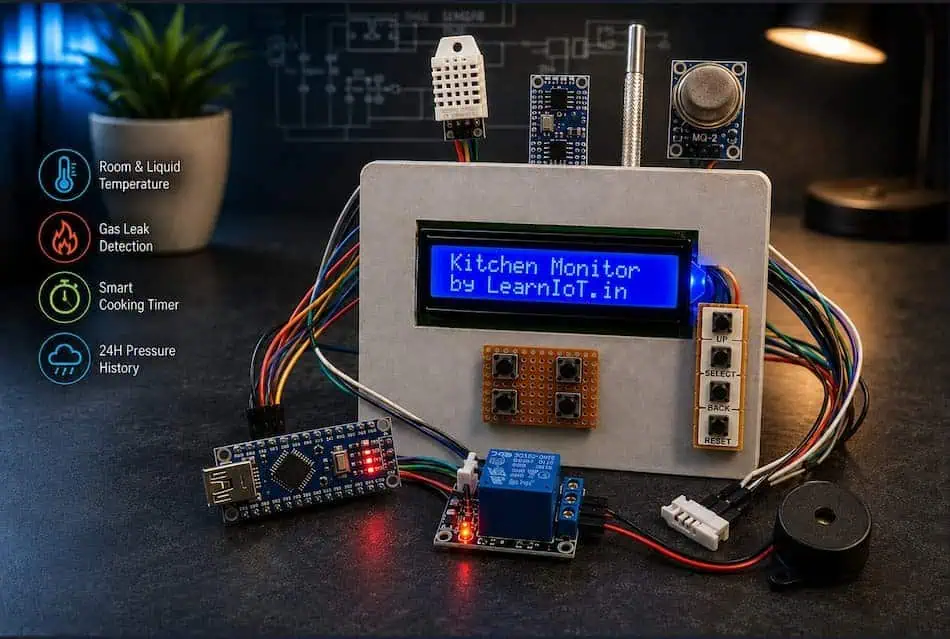
Once you’ve built each sensor individually, the natural next question is what happens when they all have to share a single microcontroller — and specifically, whether that microcontroller needs Wi-Fi at all.
The Arduino Nano Smart Kitchen Monitor answers that question by deliberately not including a radio. It runs a DHT22 (ambient temperature and humidity), a BMP280 (pressure, plus a rolling 24-hour EEPROM-backed rain-trend forecast), a DS18B20 (liquid probe with a configurable alarm threshold), and an MQ2 gas sensor, all driven from a plain Arduino Nano and displayed on a 16×2 LCD with custom icon glyphs instead of cramped text abbreviations.
What makes this build worth reading even if you only care about one sensor is the cross-cutting engineering it forces: every sensor reading passes through a validity check before the code trusts it, a bad sensor gets auto-disabled after a streak of failures rather than silently reporting “all clear” forever, and every setting survives a power cut because it’s mirrored to EEPROM behind a “magic byte” that detects a blank or corrupted chip. That pattern — read, validate, flag, persist — is the part worth stealing regardless of which individual sensor you’re working with.
Read the full Smart Kitchen Monitor build →
Cross-Cutting Wiring Lessons Every One of These Sensors Taught Me
A few things kept showing up across all four builds, regardless of which sensor was involved, and they’re worth calling out on their own because they’ll save you time no matter which guide you follow next.
I2C address conflicts are the single most common “nothing shows up” bug. The BMP280 defaults to 0x76 or 0x77 depending on how its SDO pin is wired; most LCD1602 I2C backpacks default to 0x27 or 0x3F; most 0.96″ OLEDs sit at 0x3C or 0x3D. When two devices land on the same bus with the same address, one of them simply goes silent. Running a 15-line I2C scanner sketch before wiring anything else is the fastest way to rule this out.
A pull-up resistor isn’t optional wherever a sensor uses “open drain” signaling. The DS18B20’s 1-Wire data line and I2C’s SDA/SCL lines both work on the same principle: the chip can pull the line low, but something else — a resistor — has to pull it back high. Skip it and you get exactly the kind of intermittent, hard-to-diagnose garbage that looks like a dead sensor but isn’t.
Battery power changes what “5V” means. A single 18650 Li-ion cell swings from about 4.2V (full) to 3.0V (nearly dead) — never a clean 5V on its own. Every portable build in this series uses the same chain: 18650 → TP4056 (charge management only, not regulation) → MT3608 boost converter (set to a confirmed 5.0V before connecting anything downstream) → the board’s 5V pin, never VIN. Skipping the “set the MT3608 under load, before wiring it in” step is the single fastest way to send an unregulated overvoltage spike into a Nano.
Sensors that fail silently are worse than sensors that fail loudly. A DS18B20 stuck at -127°C, an MQ2 stuck at a raw 0, a DHT11 returning NaN — every one of these is actually the good outcome, because it’s obviously wrong. The dangerous failure mode is a sensor that keeps returning a plausible-looking but incorrect number, which is exactly why every multi-sensor build on this site includes some form of a validity check and an auto-disable path rather than trusting every reading at face value.
Mistakes That Show Up Regardless of Which Sensor You Pick
- Trusting a generic calibration constant. Whether it’s a thermistor’s Beta coefficient or a DS18B20 clone’s timing assumptions, the number a tutorial gives you is a starting point, not a guarantee for your specific unit.
- Expecting instant response from anything with thermal mass. A bare thermistor bead reacts in seconds; a stainless-steel DS18B20 probe can take fifteen to twenty seconds to catch up to a fast temperature swing because the metal casing itself has to heat up first. Tune any PID or alarm logic around the sensor’s actual physical lag, not an assumed instant response.
- Using
delay()anywhere near a sensor read. Every one of these sensors has a natural “wait” built into how it works — a DS18B20’s 750ms conversion time, a DHT11’s 2-second minimum interval, a BMP280’s self-heating risk from over-polling. Blocking the whole loop withdelay()while waiting is what makes an Arduino miss button presses, alarm conditions, or incoming data during that window. Amillis()-based non-blocking pattern fixes all of it at once. - Ignoring voltage compatibility. 5V logic into a 3.3V-only chip like the BMP280 doesn’t just give bad readings — it can permanently kill the sensor. Always check the module’s actual voltage tolerance before wiring, not just the microcontroller’s.
Project Ideas Sorted by Sensor
- Thermistor: A five-zone incubator or seed-starting tray, where the low per-unit cost lets you place a sensor in every compartment without the BOM ballooning.
- DHT11 / DHT22: A filament dry-box humidity alarm, a grow-tent climate logger, or the room-monitoring dashboard covered in the DHT11 guide.
- DS18B20: A home-brewing fermentation controller, a multi-tank aquarium monitor using the daisy-chain addressing trick, or the precision liquid monitor built in the DS18B20 guide.
- BMP280: A pocket altimeter for trekking, or the full ESP32/Uno R4 WiFi weather stations from the BMP280 guide.
- All four together: Something closer to the Smart Kitchen Monitor — a self-contained appliance-style device that never needs Wi-Fi to be useful.
Frequently Asked Questions
What is the best temperature sensor for Arduino overall?
There isn’t a single “best” — it depends entirely on what you’re measuring. For liquids, the DS18B20 is the clear choice. For indoor air with humidity, the DHT11 or DHT22. For a fast, cheap analog reading or multiple sensors on a budget, the 10K thermistor. For anything tied to pressure or altitude, the BMP280.
Can I use more than one temperature sensor on the same Arduino?
Yes, and it’s common. Analog sensors each need their own analog pin (A0, A1, A2…). I2C sensors like the BMP280 can share the same two pins (SDA/SCL) with other I2C devices as long as their addresses don’t collide. DS18B20 probes can share a single digital pin in large numbers because the 1-Wire protocol was designed for exactly that.
Why is my sensor reading the wrong temperature?
The three most common causes, across every sensor type covered here, are: an uncalibrated generic constant (thermistor Beta, or trusting a clone chip’s factory defaults), a missing or wrong-value pull-up resistor, and self-heating from polling the sensor faster than its datasheet recommends.
Do I need a resistor with every temperature sensor?
Only where the sensor design calls for one. The DS18B20 needs an external 4.7kΩ pull-up on its data line (2.2kΩ for long cable runs). A bare 4-pin DHT11 (not the 3-pin module version) needs a 10kΩ resistor between VCC and Data. The BMP280 and thermistor modules typically don’t need any external resistor — the voltage divider or I2C pull-ups are already built into the module.
Is a digital sensor always more accurate than an analog one?
Generally yes, out of the box — digital sensors like the DS18B20 ship pre-calibrated at the factory. But a hand-calibrated analog thermistor, with its Beta coefficient measured against real reference baths, can close most of that gap for a fraction of the cost.
Which sensor should a complete beginner start with?
The DHT11 or the 10K thermistor module, in that order. Both are cheap, forgiving of minor wiring mistakes, and don’t risk damaging the sensor the way a voltage-sensitive part like the BMP280 can if wired incorrectly on the first try.
Final Word
None of these four sensors is a universal answer, and that’s really the point of writing this as one guide instead of five separate ones. A thermistor and a DS18B20 can both claim to measure “temperature,” and yet one belongs in a fermentation bucket and the other has no business anywhere near a kitchen counter measuring milk on the stove. The fastest way to a working project isn’t finding the “best” Arduino temperature sensor — it’s being honest about what you’re actually measuring, then picking the sensor built for exactly that job.
If you’ve made it this far and still aren’t sure which one fits your specific build, the decision framework above is designed to be worked through in order — liquid, humidity, pressure, budget, or all-of-the-above — and each answer routes straight to the guide with the full wiring diagrams and code.